How do I edit my report photos online?
Learn how-to edit your report photos online using Horizon.
In this lesson we will review how to edit photos on the web.
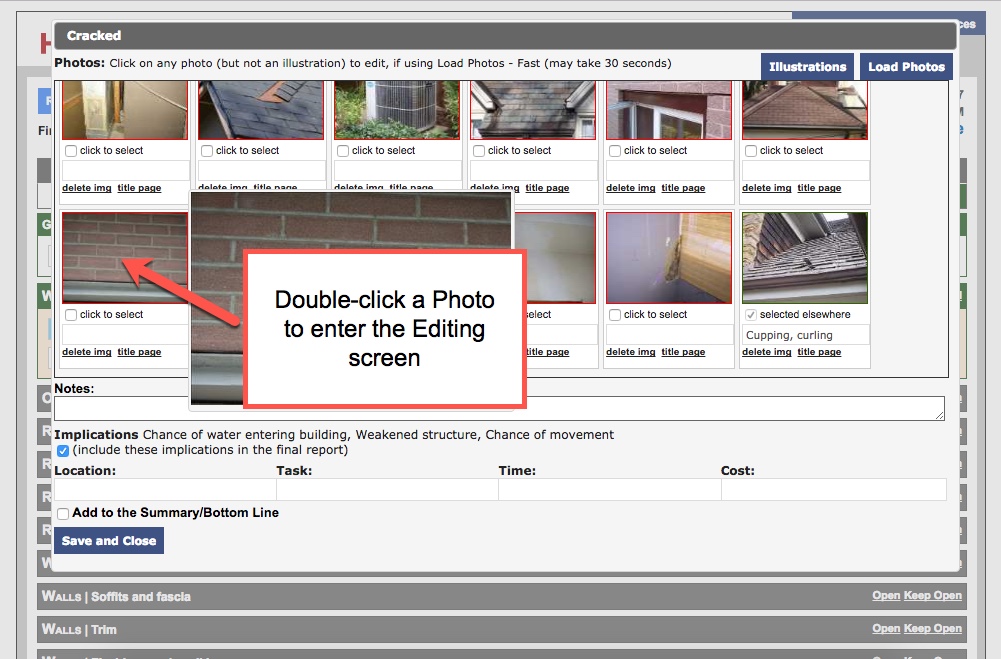
In your report, when you mouse over a Photo in the Photo Gallery, double-click the Photo.
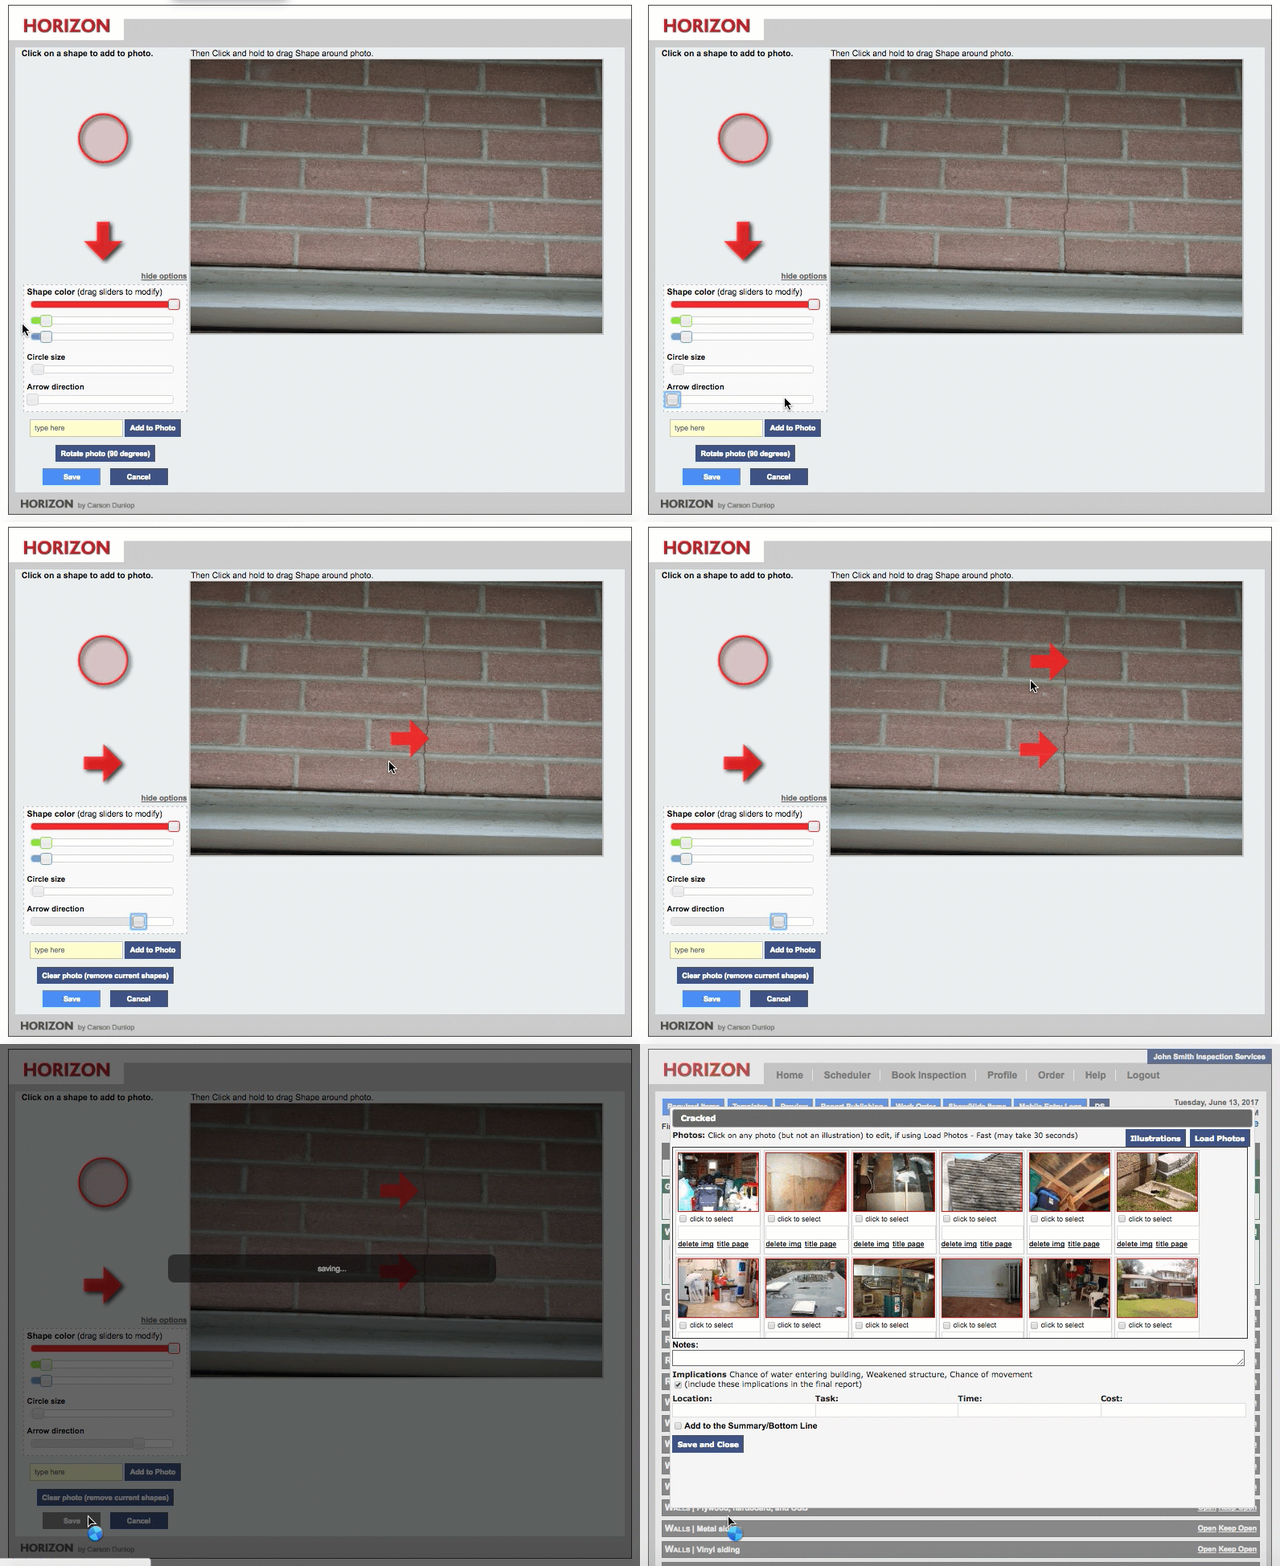
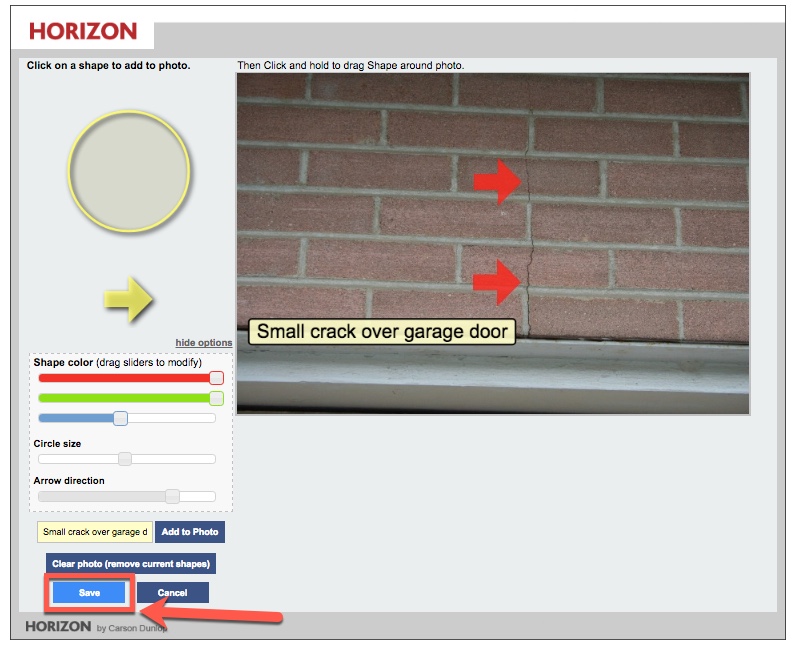
You will then be taken to the Photo Editing screen. In this example, we have hi-lighted a crack on the Exterior Wall with 2 arrows:
1) Change the direction of the arrow if needed.
2) Click on the arrow to add it to the photo.
3) Reposition the arrow to where you want it and release.
4) Add more arrows if needed. We recommend to use these sparingly in your reports.
5) Once complete, click Save.
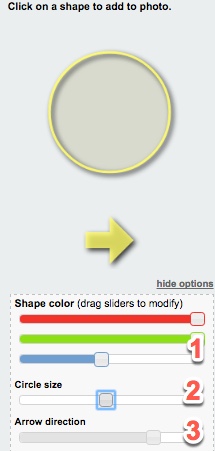
You can modify the color of circle/arrows by dragging the Shape color slider.
1) The primary colors available are Red, Green and Blue.
If you drag all of the sliders to the left, you get Black.
If you drag all of the sliders to the right, you get White.
There are also other colors that can be created by mixing the slider levels.
2) You can also change the Circle size.
3) You can also change the Arrow direction.
You can also add text to your Photo if needed. We also recommend to use this sparingly in your reports as photos can be captioned automatically (beneath the photo).
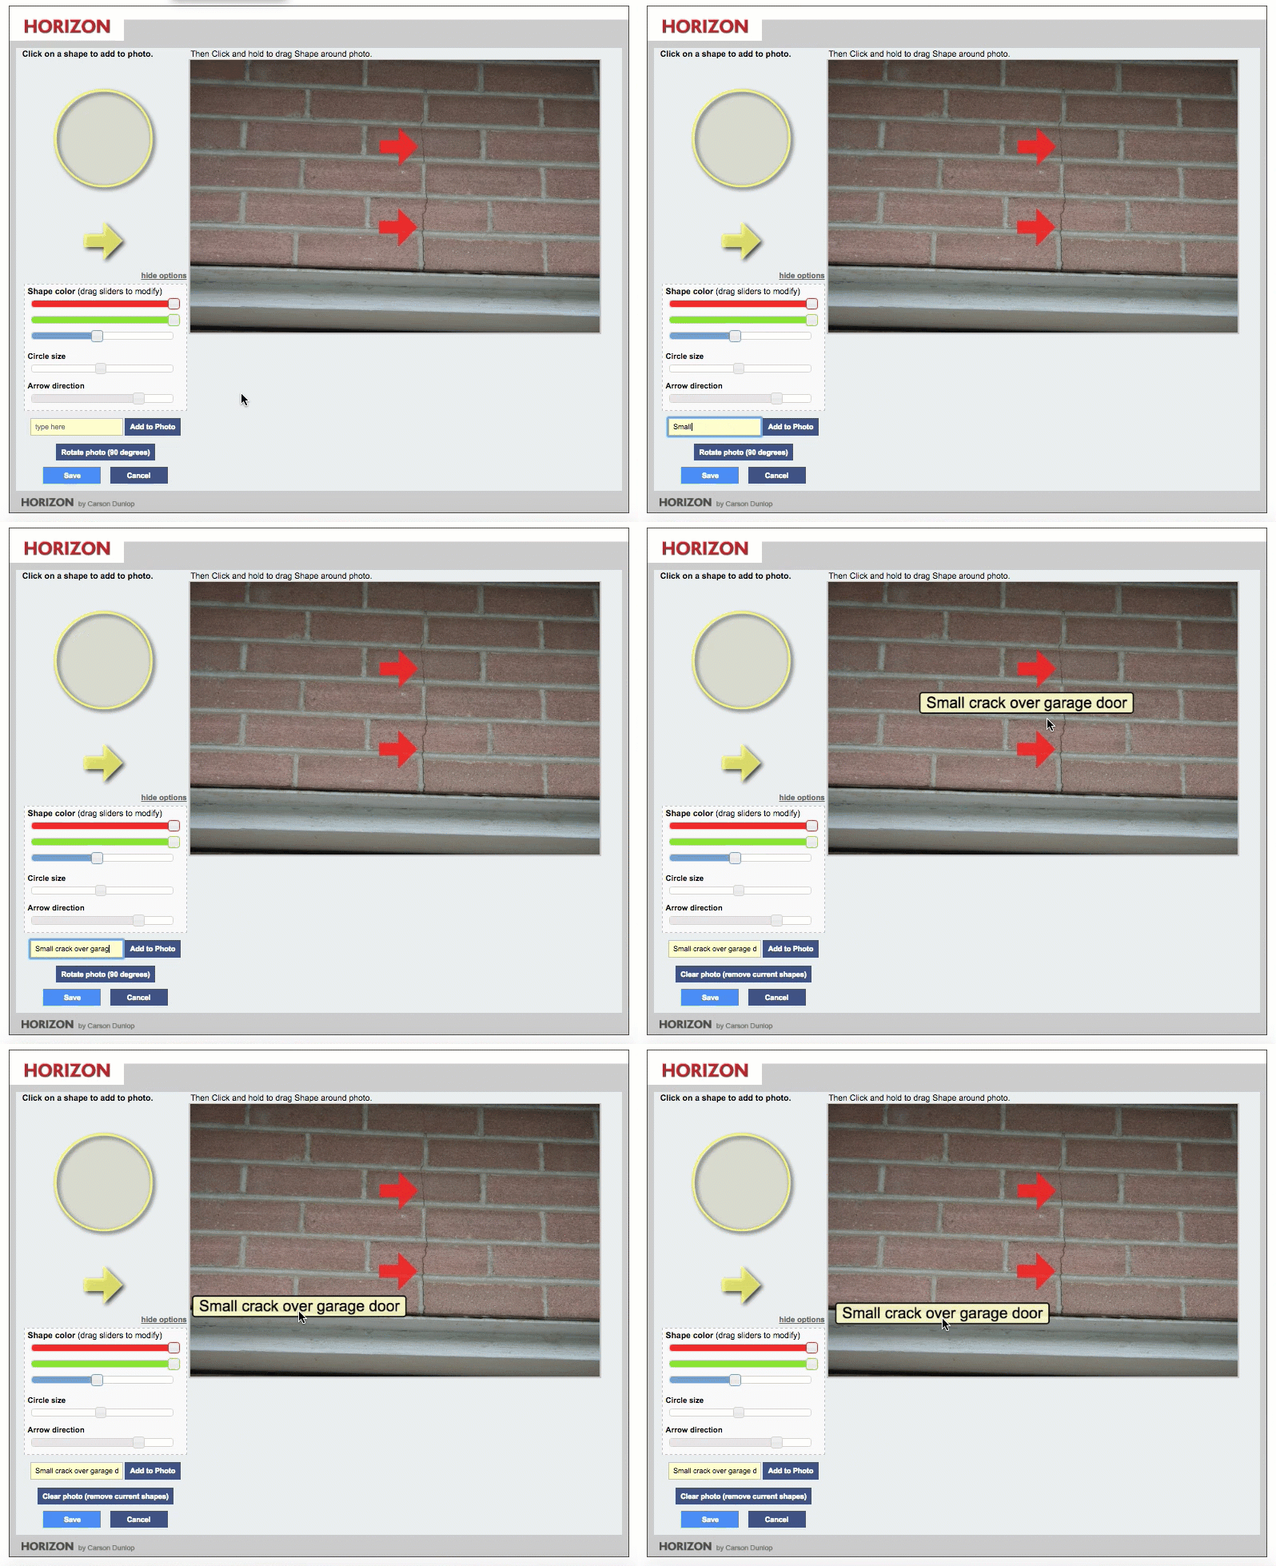
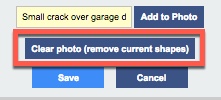
You can also clear the photo if you would like to start over.
The photo can also be rotated 90 degrees. You would typically do this if a landscape photo was imported into the portrait mode.

Once you are done, click Save.
![logo-white.png]](https://support.carsondunlop.com/hs-fs/hubfs/logo-white.png?height=50&name=logo-white.png)