Did you know Horizon Marketer can send you an email notification anytime a client agrees to your Horizon contract? It's super-easy to set up, and can save you time checking each work order manually to confirm if your contract has been accepted.
1) To set it up, go to the Horizon Profile then go to Section 2. Administration > Horizon Marketer Setup.
2) Once in this area, click 'Create a new Auto Email'. (Fig. 1)
Fig. 1
3) First we will configure the appropriate actions and triggers. Enter or choose these fields below:
Email Name: Contract Accepted Notification
Event that Triggers the Email: Choose 'After Online Contract Accepted'
When to Send: Choose 'immediately'
Apply to these Inspection Types: Select the invoice line item types it should apply to, ie. Home Inspection up to 999 sq ft., Home Inspection from 1,000 to 1,3000 sq ft. etc.
Override Do Not Contact: leave unchecked.
Sender Name: Right-click in the text field, and choose COMPANYNAME under Horizon TAGS 1.
Sender's Email: Right-click, and choose COMPANYEMAIL under Horizon TAGS 0.
To Email: Right-click, and choose COMPANYEMAIL as well. If you would like to also send a copy to your inspector, choose COMPANYEMAIL, followed by a comma then INSPECTOREMAIL. It should read as COMPANYEMAIL,INSPECTOREMAIL.
Subject: Your Contract has been accepted for the property at INSPECTIONADDRESSSHORT
4) Next, you will see a box labeled 'Live Preview of the Final Email. Below it you will see a box labeled 'Body'.
Note: It is best practice to choose a Sample Email Layout under the Body to choose a starting template for your email. In this case, we will use simplified HTML since it is intended as a quick notification for yourself or for your office staff only.
5) In the Body field, copy this text in the table below and paste it:
Tables can't be imported directly. Please insert an image of your table which can be found here.
<p>Hello,</p><br>
<p>Your contract has been accepted for the property at INSPECTIONADDRESSSHORT. Please follow up with the client or agent if required.</p><br>
<p>*REQUIRED_COMPANYCONTACTINFO</p>
<p>*REQUIRED_UNSUBSCRIBELINK</p>
6) Make sure to test the email using your personal email and business email address to confirm it can be received & viewed.
Note: The website at the bottom of the email will render as http://www.testcobiz.com as it is a sample email only. Your company website will be substituted when the real email is received.
7) Once complete, click 'Save and Back'.
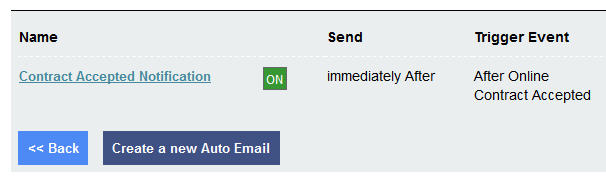
8) Turn on the Email as shown in Fig. 2 & 3 below:
Fig. 2
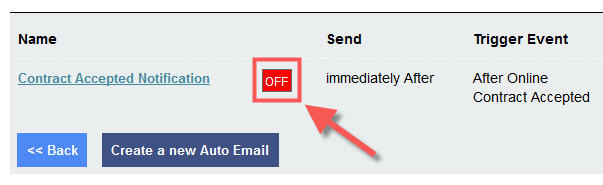
Fig. 3
And that's it! If you have any questions, please contact us by submitting a support ticket or contacting 1-800-268-7070 ext. 259.