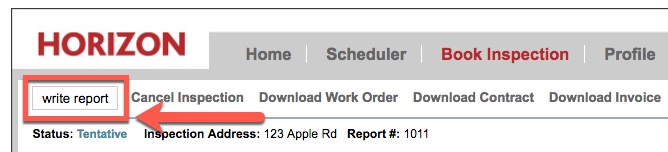
To start an inspection report on Horizon Mobile, first schedule or book an inspection online via the web at www.discoverhorizon.com. Activate the inspection by clicking on write report from the Work Order screen. Typically you would do this after the Contract has been accepted by the client.
Next, open the Horizon Mobile App on your Smartphone or Tablet. It is available for Android and iOS devices only. For Apple Devices, it may be downloaded from the App Store. For Android devices, it may be downloaded from the Google Play Store.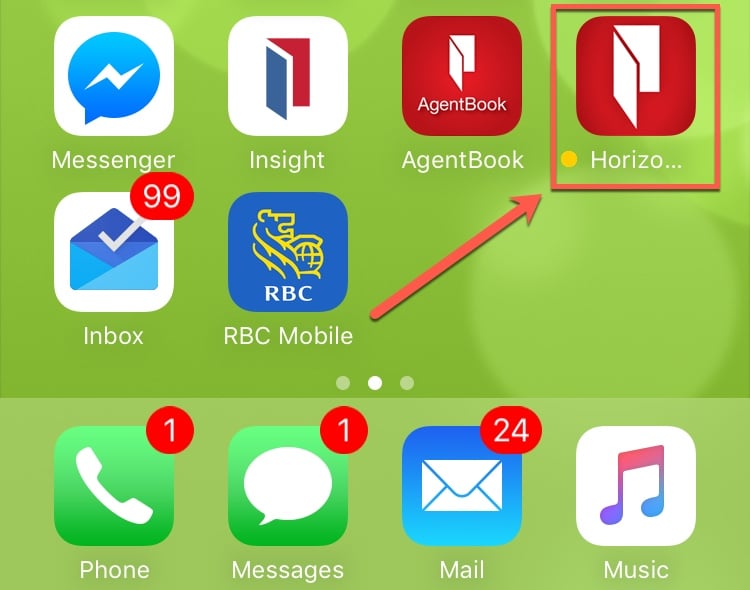
Once the app is open, click on the Menu button followed by Full Sync.

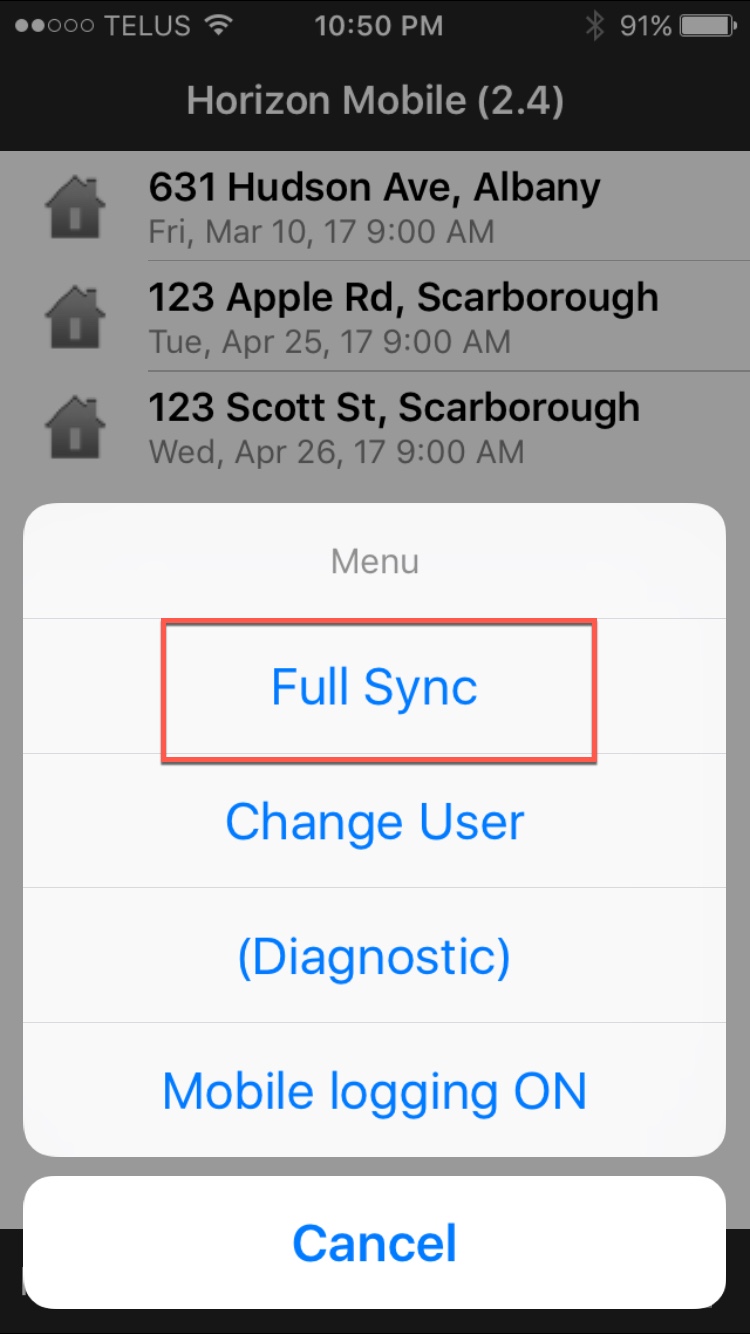
Once you do this, it will pull your new inspection address from the cloud over to your device and remove any previously completed inspections back up to the cloud.

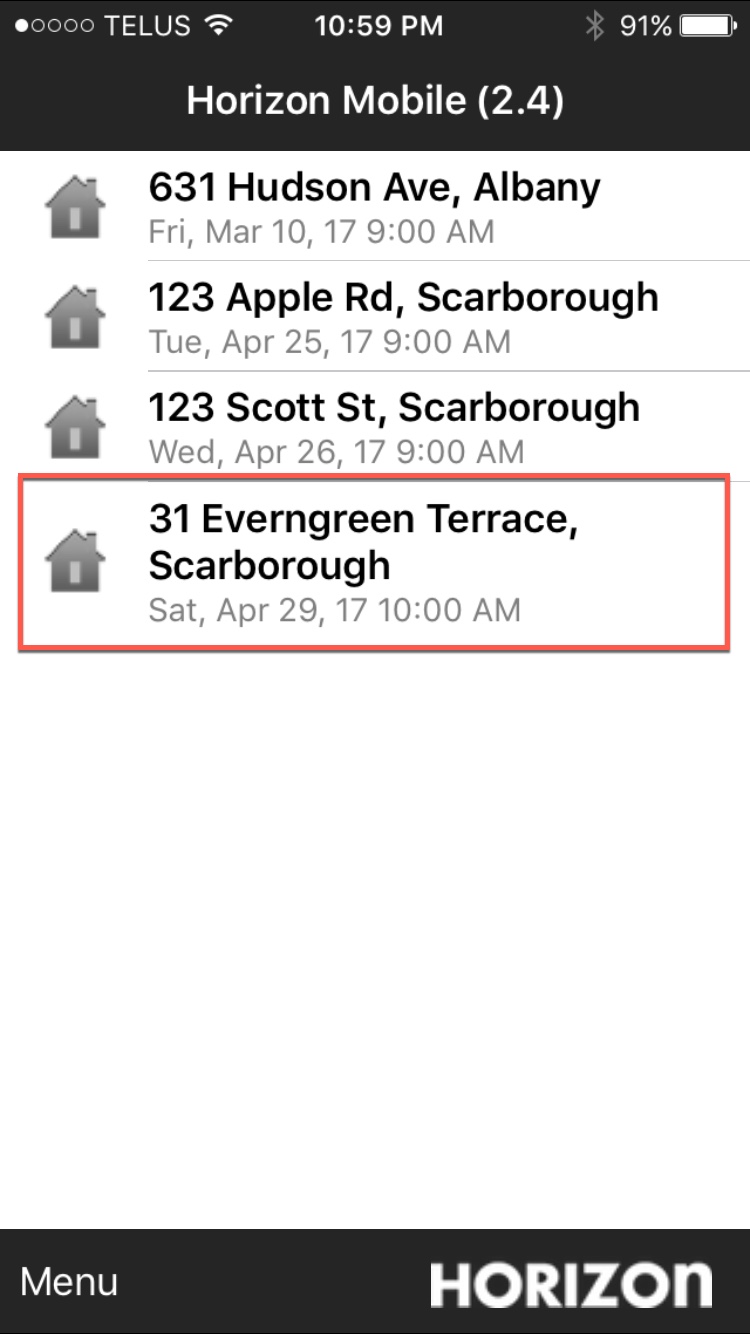
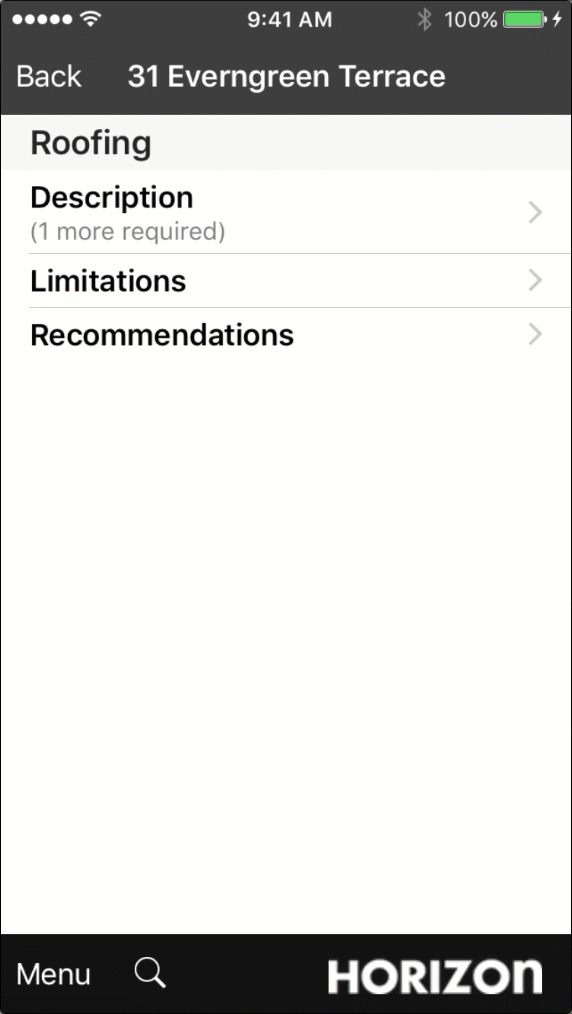
Click on the Inspection address to be taken to this screen:
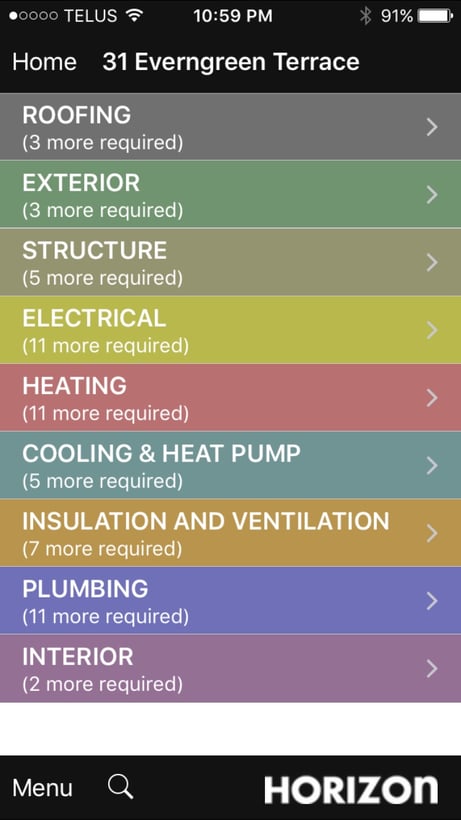
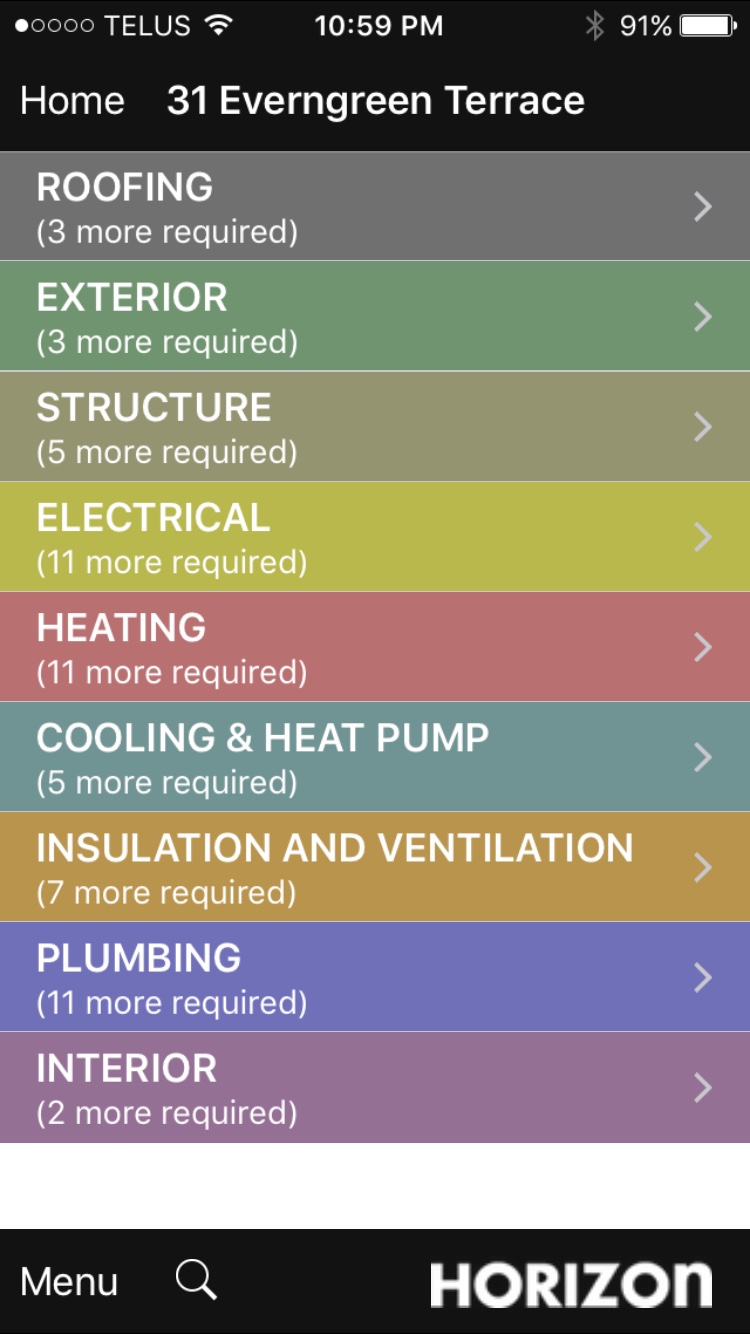
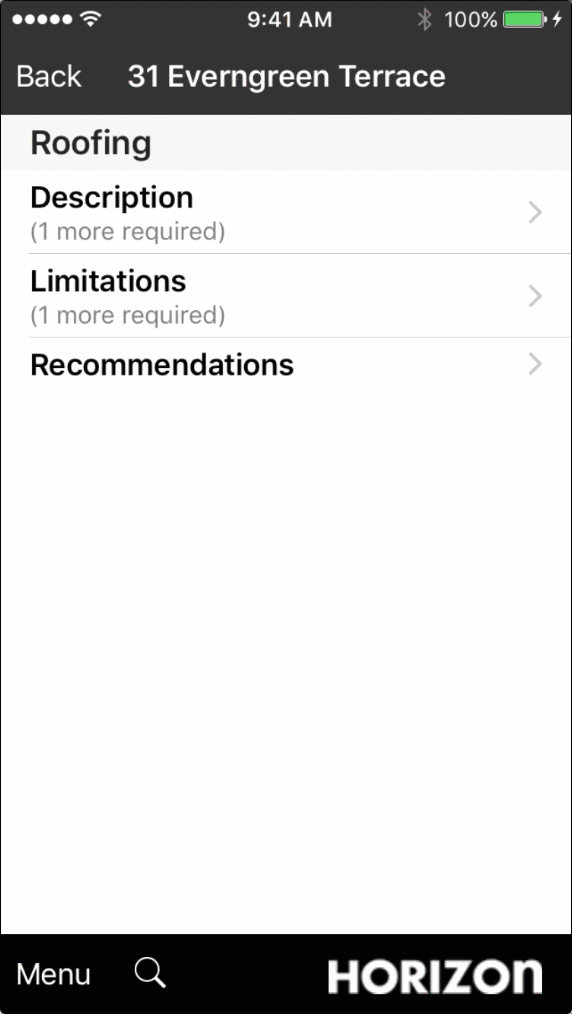
Once you click on Roofing or any of the other House Systems, you will see Descriptions, Limitations and Recommendations.
To add a standard Description item to the report:
1) Tap on Description.
2) Tap on the Category heading, ie. Sloped roofing material.
3) Tap on an Item, ie. Asphalt Shingles.
4) Tap on the Back button.
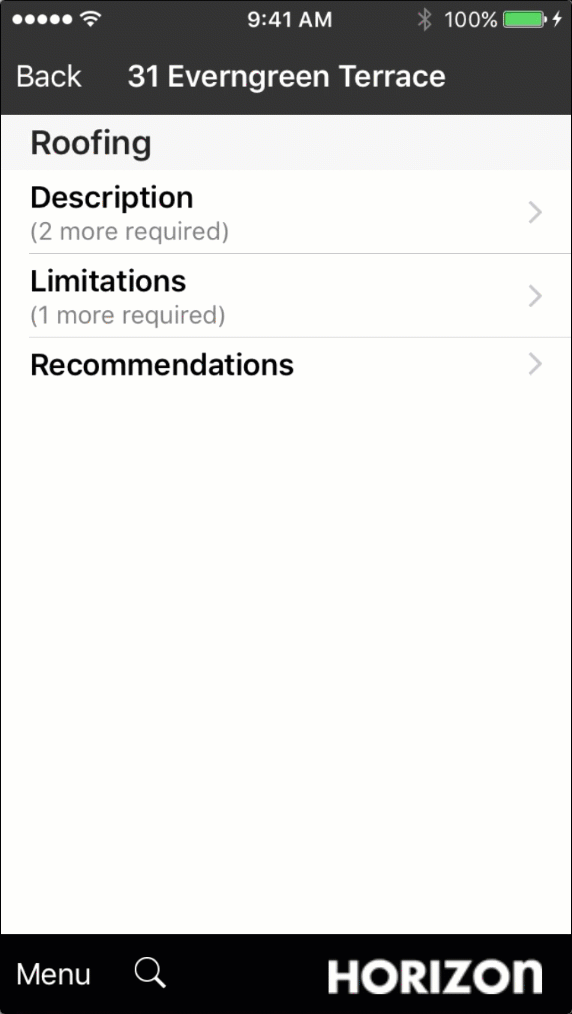
Note: If you do not see the component you are looking for, you can click Blank Item to add a custom note.
To add a standard Limitation item to the report:
1) Tap on Limitations.
2) Tap on the Category heading, ie. Inspection performed.
3) Tap on an Item, ie. By walking on roof.
4) Tap on the Back button.
To add a standard Recommendation to the Report:
1) Tap on Recommendations.
2) Tap on the Category heading, ie. Sloped roofing | Asphalt shingles.
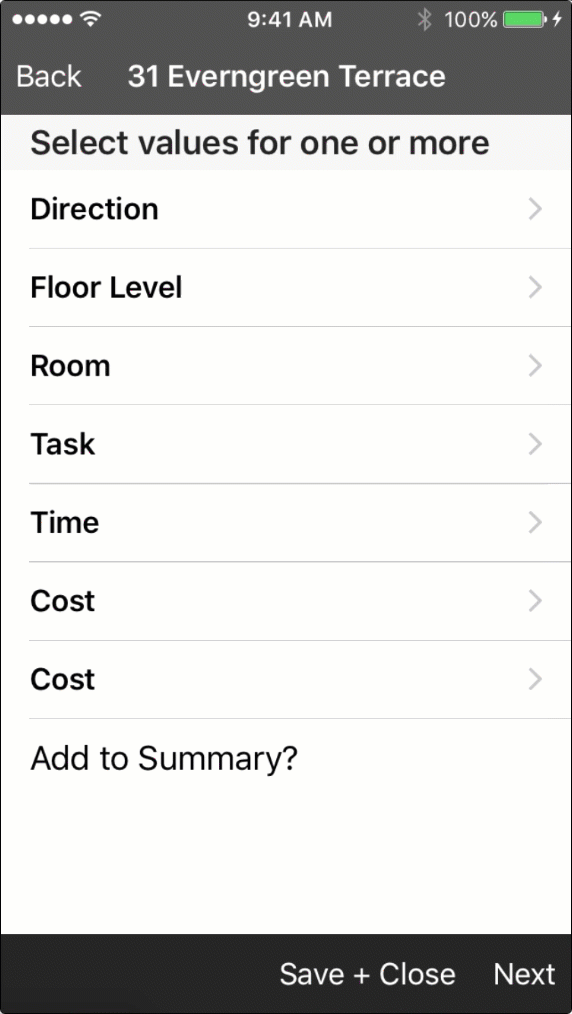
3) Tap on an Item, ie. Cupping, Curling, clawing.
4) If you click on the item that was just check-marked, it will bring you to a screen where you can enter additional information such as:
Direction / Floor Level / Room / Task / Time / Cost (Min. & Max. ) / Add to Summary?
Only select the options that are applicable to the item that you have chosen. Not all are mandatory.
Once complete, tap Next to take a Photograph or add an additional Note.
In this example, we will take a Photo.
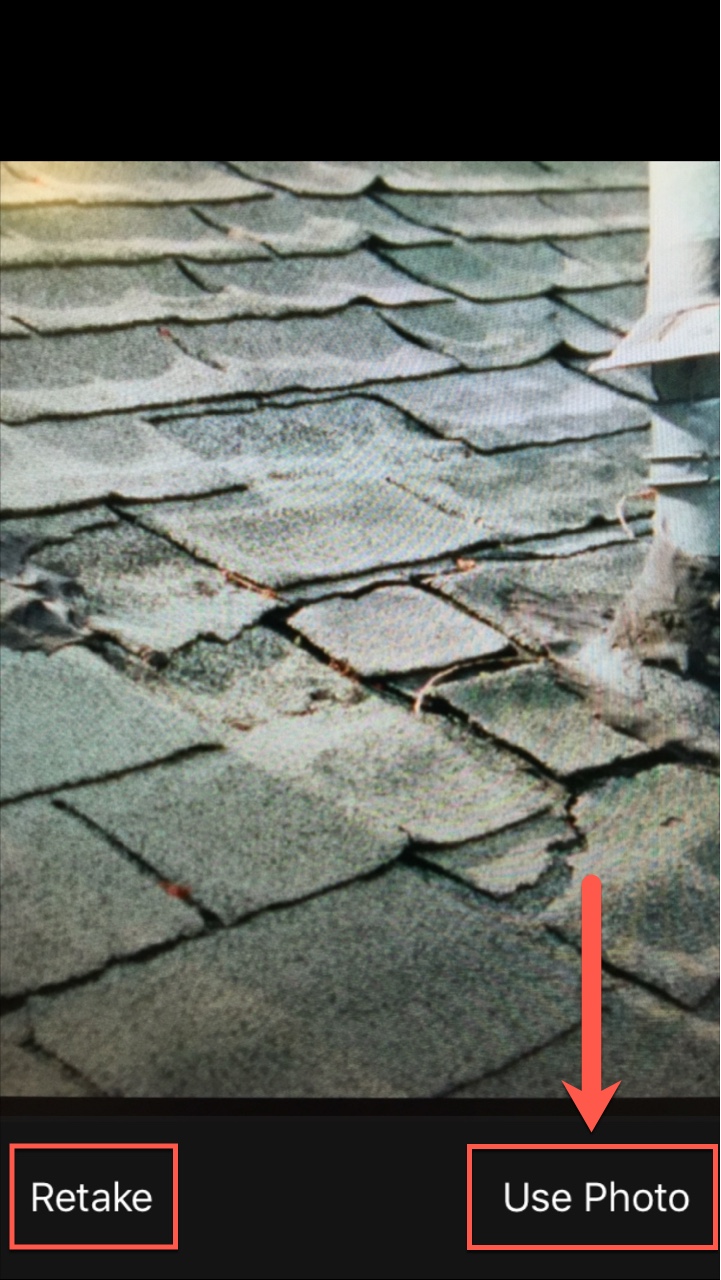
To take a Photo, click on the  icon. It will launch the iOS camera.
Once you take the photo, it will pause on your screen so that you can either click Retake or Use Photo. If you are satisfied, click on Use Photo.
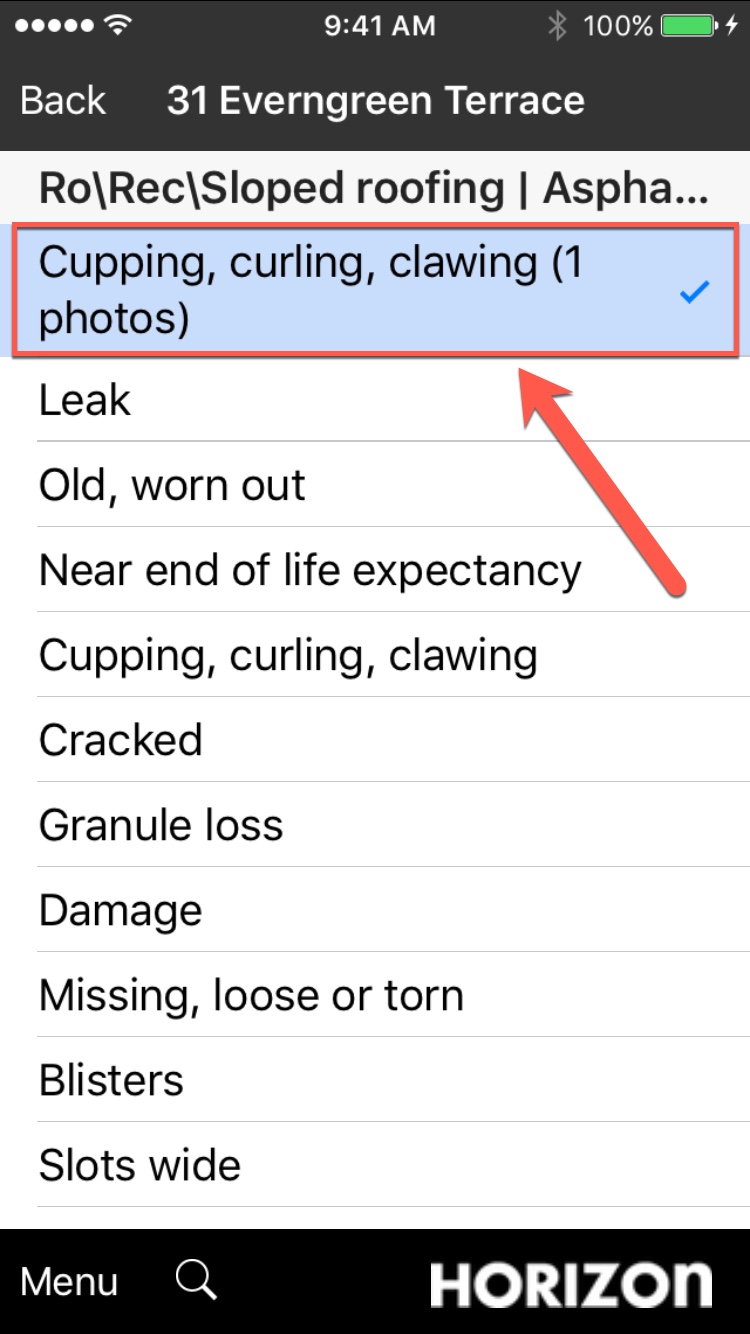
Tap on Save and Back. You will then be taken back to the previous screen which will show Cupping, curling, clawing (1 photos).
Note: If you use the inverted Photo icon  you can add a Circle on the image to hilight the defect. The choices are:
- Red Small
- Red Large
- White Small
- White Large
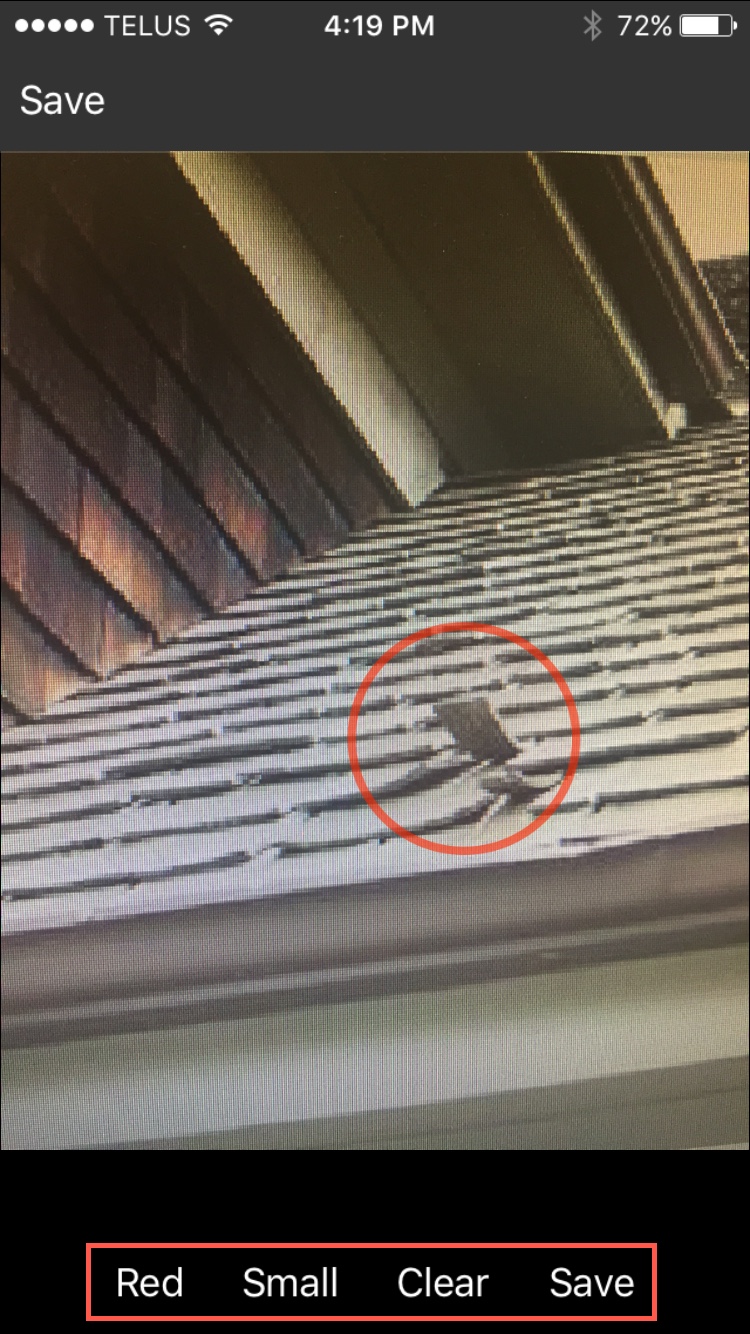
1) The default is Red Small. To change to Red Large, tap on Small. It will then change to a Large Circle.
2) To change to a White Circle, tap on Red.
3) You can start over by tapping on Clear.
4) Once you are satisfied with the Photo, tap on Save.
To send data back to the cloud, tap on the Menu followed by Push Only. Do it often!
If you use the Push Only Sync early and often, you can never lose more data than the amount entered since your last Sync. If you Sync every 10 or 20 entries - you could lose 20 entries - but the 78 entries before that are safe on the web. Also, in the event that you do encounter a bad Sync even when sync'ing early and often, you'll instantly recognize the issue while you're on site and be able to recover from it right then and there. Please consider this advice.
This covers the basics of Horizon Mobile. For more information, please see our Speed Write and Search 2.0 Tutorials.